Feature(may vary by option.)
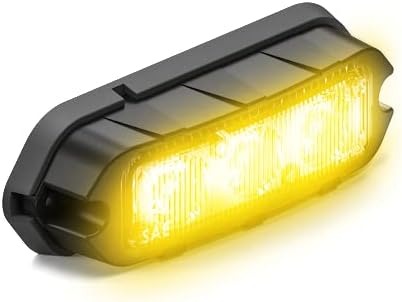
●3x 4-Watt LEDs with a 5 Year Warranty & Made in America
●14 flash patterns - Patterns include brake, tail and steady on
●Made with a Rugged Aluminum Weather-Resistant Housing
●Mount the T3 LED anywhere on Vehicle Certifications: SAE J595, SAE J1113-11, CT13
●Integrated mounting bezel with rubber mounting protective pad and 9 Inch Cable Harness
[1 Count Red]

[10 Count Green]

[10 Count Red]

[1 Count White]

[10 Count Blue]

[10 Count Amber]
[10 Count White]

[1 Count Amber]

[1 Count Green]

[1 Count Blue]

Description


Patterns & Synchronization
Syncs with:
- Feniex T3 & Q3s
- Fusion-S Surface Mounts (FSMs)
- Quad Surface Mounts (QSMs)
- FSM/QSM-integrated Products
- Quad Under Mirror Pucks
- Quad Cannons
- Feniex Luxes
Instructions:
- Pattern Selection: Momentarily tap the blue wire to a ground 12v (-) source to cycle through the flash patterns.
- Synchronization: To synchronize two or more T3 units (or compatible products) together:
- Choose the desired flash pattern for each unit.
- Connect the blue wires of the light heads together.
Configuration Instructions
Power
To power the unit, extend the red wire to a 12v (+) post. Extend the black wire to the ground post of the vehicles battery.
To achieve synchronization, the patterns must match on all products connected to the synchronization circuit.
Setting Master/Slave
- Apply 12v (+) power and 12v (-) ground to the unit.
- For the light heads to alternate, one light head must be set as master and the other set as slave. To do so, hold the blue (flash pattern changer) wire to ground for 3 seconds.
.
- If all LEDS turn on, this indicates master mode.
- If no LEDs activate, this indicates slave mode.
Each time the master/slave mode is set, the pattern will reset to the default setting (Single Flash [Slow]). This simplifies the process of synchronizing two or more compatible products.
COMPACT AND WEATHERPROOF

MADE IN AUSTIN, TEXAS, USA
